|

Reference
Guide
|
|
How To / Using Roll Paper
Removing the Roll Paper from the Printer
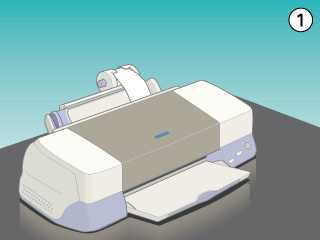
After the print job is complete, press the  roll paper button; a line is printed on the roll paper indicating where to cut the paper. Follow the directions below to remove the paper from the printer.
 |
Press the roll paper button to feed the paper. This time, a cutting guide line is printed.
|
 |  |
Note:
|
| | -
If you want to print more data on the same sheet of paper, press the roll paper button and send the next print job. The paper will return to the printing start position before starting the next print job.
|
| | -
You must press the roll paper button; otherwise, the printer will not operate even if you send a new print job. However, do not press the roll paper button more than is necessary; repeated motion may damage the printout.
|
 |
Cut the paper along the printed line. Never pull the paper as you cut it. Doing so may damage the printout. When cutting the paper, do not cut inside the line (closer to the printer) as this may cause paper feed problems.
|
| |
Note:
|
| |
EPSON recommends that you use a triangle or other tool to ensure that the end of the roll is cut perpendicularly. A diagonal cut may cause paper feed problems.
|
 |
Once you have cut the paper, hold down the roll paper button for about 3 seconds. The paper feeds in reverse to a position where it can be easily removed from the sheet feeder at the back of the printer. If it does not feed to this position, repeat this step.
|

 |
Gently remove the paper. Then, press the roll paper button to clear error light.
|
Your document has now been printed.

[Top]
| Copyright © SEIKO EPSON CORPORATION 2000, ALL RIGHTS RESERVED |

